How to Replace a Light Switch (Step-by-Step for Beginners)
A light switch that crackles, feels warm, flickers or just stopped working is one of the most common small electrical repairs in a home. The good news is that swapping a basic switch is a simple job for most homeowners. You need a screwdriver, a voltage tester and about 20 minutes.
This guide walks you through how to replace a light switch safely, from shutting off the power to testing the new switch. It focuses on a standard single-pole switch, the kind that controls a light from one spot, and explains when a 3-way switch or other situation means you should call an electrician.
Quick answer: To replace a light switch, turn off the circuit breaker and confirm the power is off with a voltage tester. Remove the cover plate and mounting screws, pull the switch out, and take a photo of how the wires are connected. Move each wire to the same terminal on the new switch, wrapping it clockwise around the screw, and attach the bare or green ground wire to the green screw. Push the switch back into the box, screw it in, add the plate, and turn the power back on to test it.
Safety First
Electricity can cause serious injury, so do not skip these steps:
- Always turn off the power at the breaker panel, not just the switch.
- Use a voltage tester to confirm the wires are dead before touching them.
- Put tape over the breaker or leave a note so nobody turns it back on while you work.
- Stop and call a licensed electrician if you see aluminum wiring, scorched or melted insulation, or wires you cannot make sense of.
Local codes vary, and some areas require permits for electrical work. Check your local rules if you are unsure.
Tools and Materials
- New light switch (single-pole, matching the old one)
- Flathead and Phillips screwdrivers
- Non-contact voltage tester
- Needle-nose pliers
- Wire stripper (if wire ends are damaged)
- Electrical tape and a phone for a reference photo
Single-Pole or 3-Way: Which Switch Do You Have?
According to Dummies, a single-pole switch usually has “On” and “Off” printed on the toggle and is the only switch that controls that light. It has two brass screws and a green ground screw.
A 3-way switch has no On and Off markings and works with a second switch in another spot, like at the top and bottom of a staircase. It has three screws plus a ground: one darker “common” screw and two lighter “traveler” screws. If you are replacing a 3-way switch, buy a 3-way replacement and mark the wire on the common screw before removing anything.
How to Replace a Light Switch Step by Step
1. Turn off the power
Find the right breaker in your panel and switch it off. Flip the light switch on and off to make sure the light is dead. As This Old House recommends, put tape over the breaker so no one switches it back on.
2. Remove the cover plate and test for power
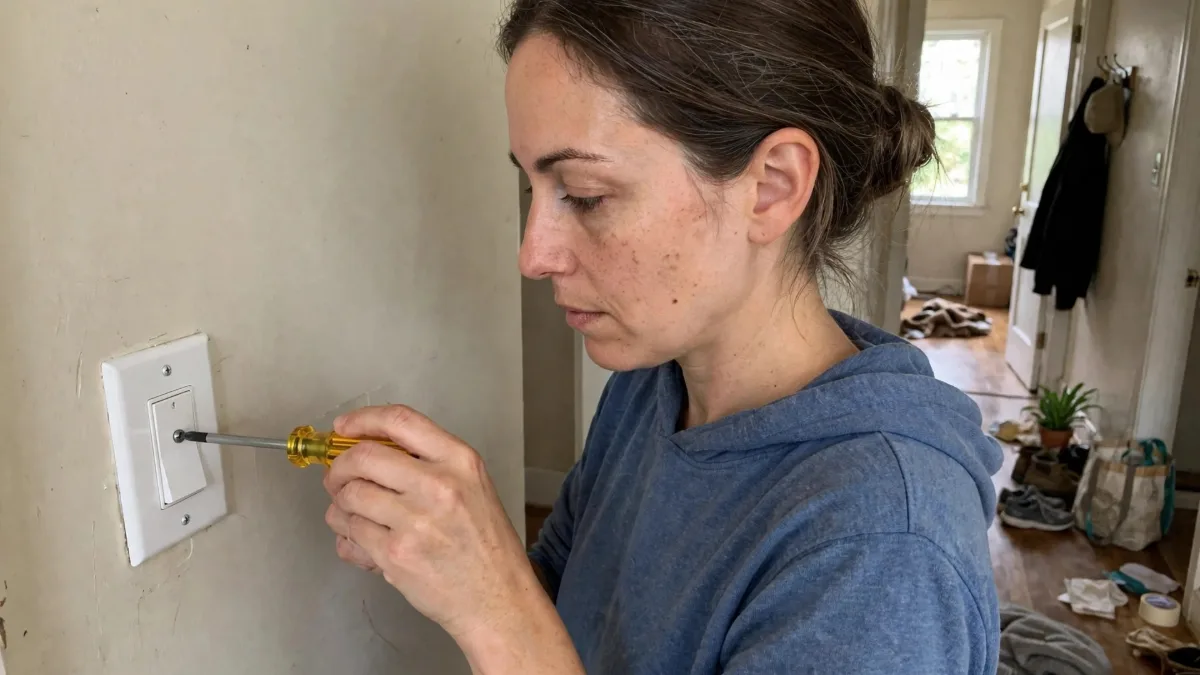
Unscrew the cover plate. Hold a non-contact voltage tester next to the wires and the screw terminals on the sides of the switch. If the tester lights up or beeps, there is still power. Go back and find the correct breaker.
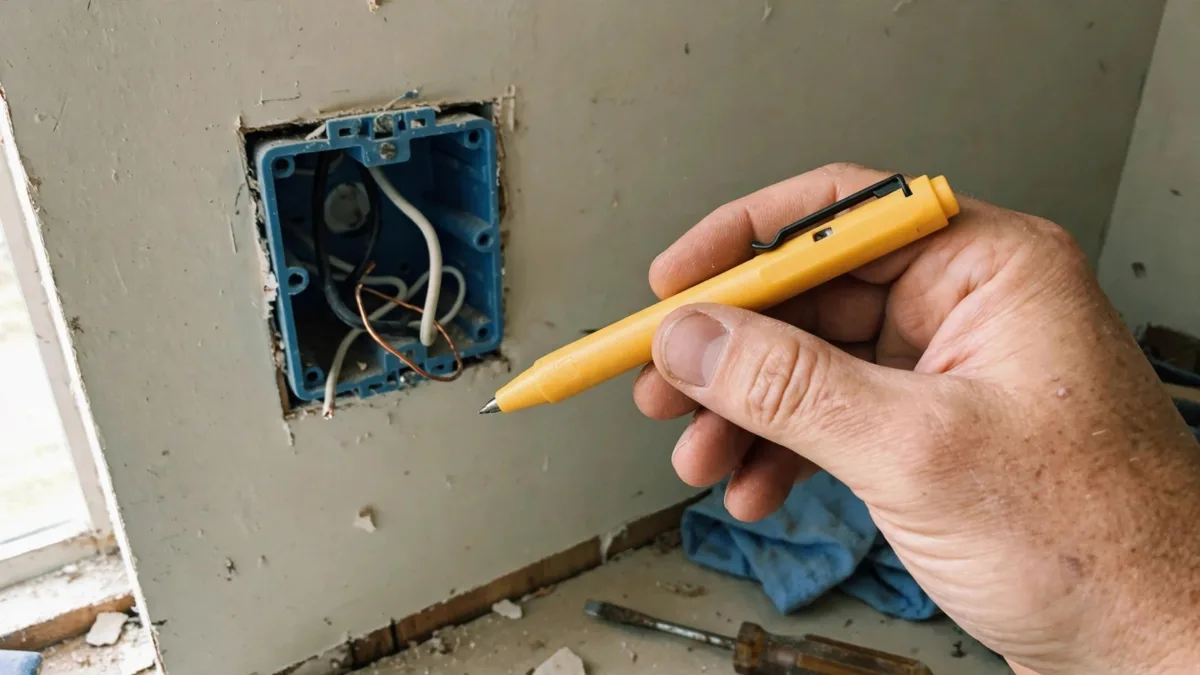
3. Pull out the old switch
Remove the two long screws that hold the switch to the electrical box. Gently pull the switch out so you can see the wires. Do not disconnect anything yet.
4. Take a photo and label the wires
Take a clear photo of which wire goes to which screw. If you are working with a 3-way switch, put a piece of tape on the wire attached to the dark common screw. Note that a white wire wrapped in black tape is being used as a hot wire, not a neutral.
5. Disconnect the old switch
Loosen the terminal screws and unhook the wires one at a time. If the wires are pushed into small holes in the back of the switch (called backstab connections), press a small screwdriver into the release slot next to the hole and pull the wire out, or cut it close to the switch and strip a fresh end.
6. Connect the new switch
- If the bare copper ends are damaged, strip about 1/2 to 3/4 inch of fresh wire.
- Use needle-nose pliers to bend each wire end into a small hook.
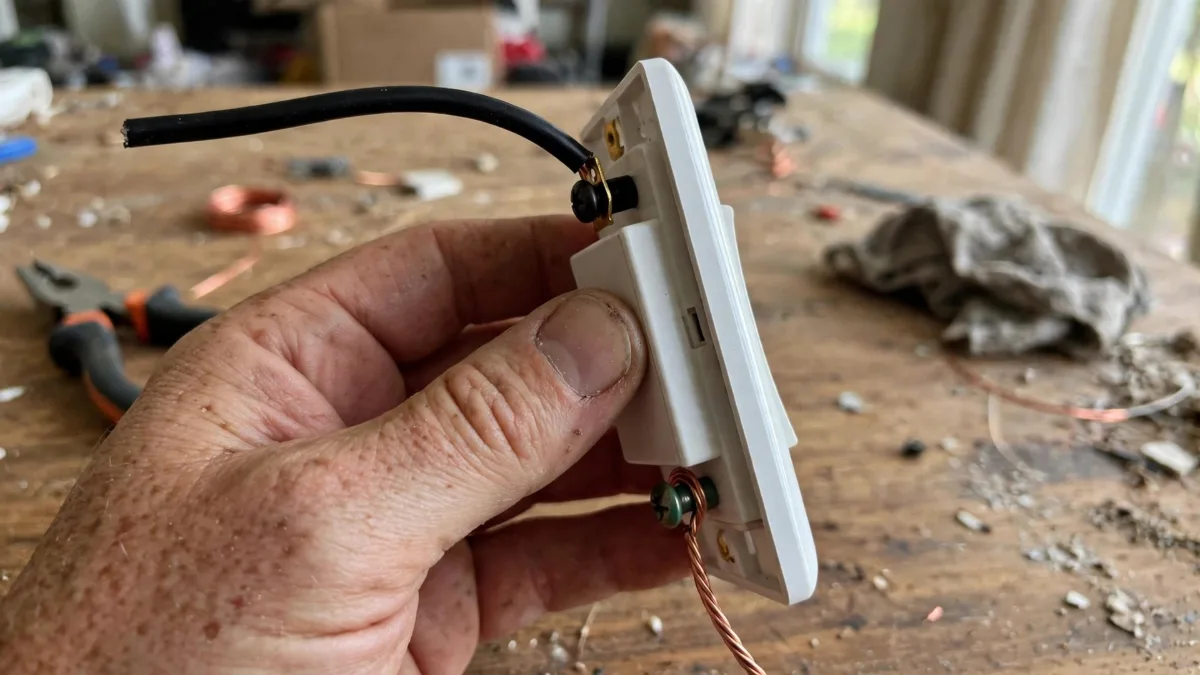
- Hook each wire around its screw in a clockwise direction. That way, tightening the screw pulls the wire in snugly instead of pushing it out.
- Connect the two hot wires to the two brass screws (for a single-pole switch, either wire can go on either brass screw).
- Connect the bare copper or green ground wire to the green ground screw.
- Tighten all screws firmly and give each wire a gentle tug.
Use the screw terminals rather than the push-in holes. Dummies notes screw connections are more reliable over time.
7. Mount the switch and test it
Fold the wires neatly back into the box, push the switch in, and secure it with its mounting screws. Make sure it sits straight with “On” at the top. Attach the cover plate, turn the breaker back on, and flip the switch a few times to make sure it works.

What If the New Switch Does Not Work?
- Light does not turn on: Check the breaker is on and the bulb is good. Then turn the power off again and make sure every screw is tight.
- Breaker trips right away: Turn off the power and check that no bare wire is touching another wire or the metal box.
- Switch works backward: On a single-pole switch, it is likely mounted upside down. Flip it over.
- 3-way switch acts strangely: The common wire is probably on the wrong screw. Check your photo and move it to the dark common terminal.
When to Call an Electrician
This Old House recommends calling a pro if you are not comfortable working with electricity, your home has aluminum wiring, the wires are damaged or too short, the switch controls several fixtures, or you are installing a smart switch that needs a neutral wire your box does not have. Older homes in particular may not follow modern wiring standards.
Taking on more electrical projects? See our guides on how to install a ceiling fan and how to install a light fixture.
Frequently Asked Questions
Can I replace a light switch myself?
In most homes, yes, as long as you turn off the power, test the wires and follow your local codes. If anything looks unusual, call an electrician.
How long does it take to replace a light switch?
About 15 to 30 minutes for a basic single-pole switch, including turning off the power and testing.
Which wire goes where on a light switch?
On a single-pole switch, the two hot wires go to the two brass screws and the ground goes to the green screw. On a 3-way switch, the common wire goes to the dark screw and the two travelers go to the lighter screws.
Do I need to turn off the main breaker?
No, only the breaker for that circuit. Just be sure to test with a voltage tester before you touch anything.
Can I replace a regular switch with a dimmer?
Usually, yes. Make sure the dimmer is rated for your bulb type and total wattage, and use dimmable bulbs.
The Bottom Line
Replacing a light switch is a simple job if you work carefully. Turn off the breaker, test for power, photograph the wires, and move each one to the matching screw on the new switch, wrapping clockwise. Connect the ground, mount the switch and test it. If anything looks unusual, call a licensed electrician.
This article is for general information. Electrical work can be dangerous. Always turn off power and follow local codes, and hire a licensed electrician if you are not confident doing the job safely.