

How to Install a Light Fixture (Ceiling Light Step-by-Step)
Replacing a dated ceiling light is one of the quickest ways to make a room feel new. If there is already a light in the ceiling, you are mostly swapping one fixture for another using the same wires and box. With a helper, a ladder and an hour or so, most homeowners can do it themselves.
Here is how to install a light fixture step by step, including how to take down the old one, how the wires connect, what to do with heavy fixtures, and when to leave the job to a licensed electrician.
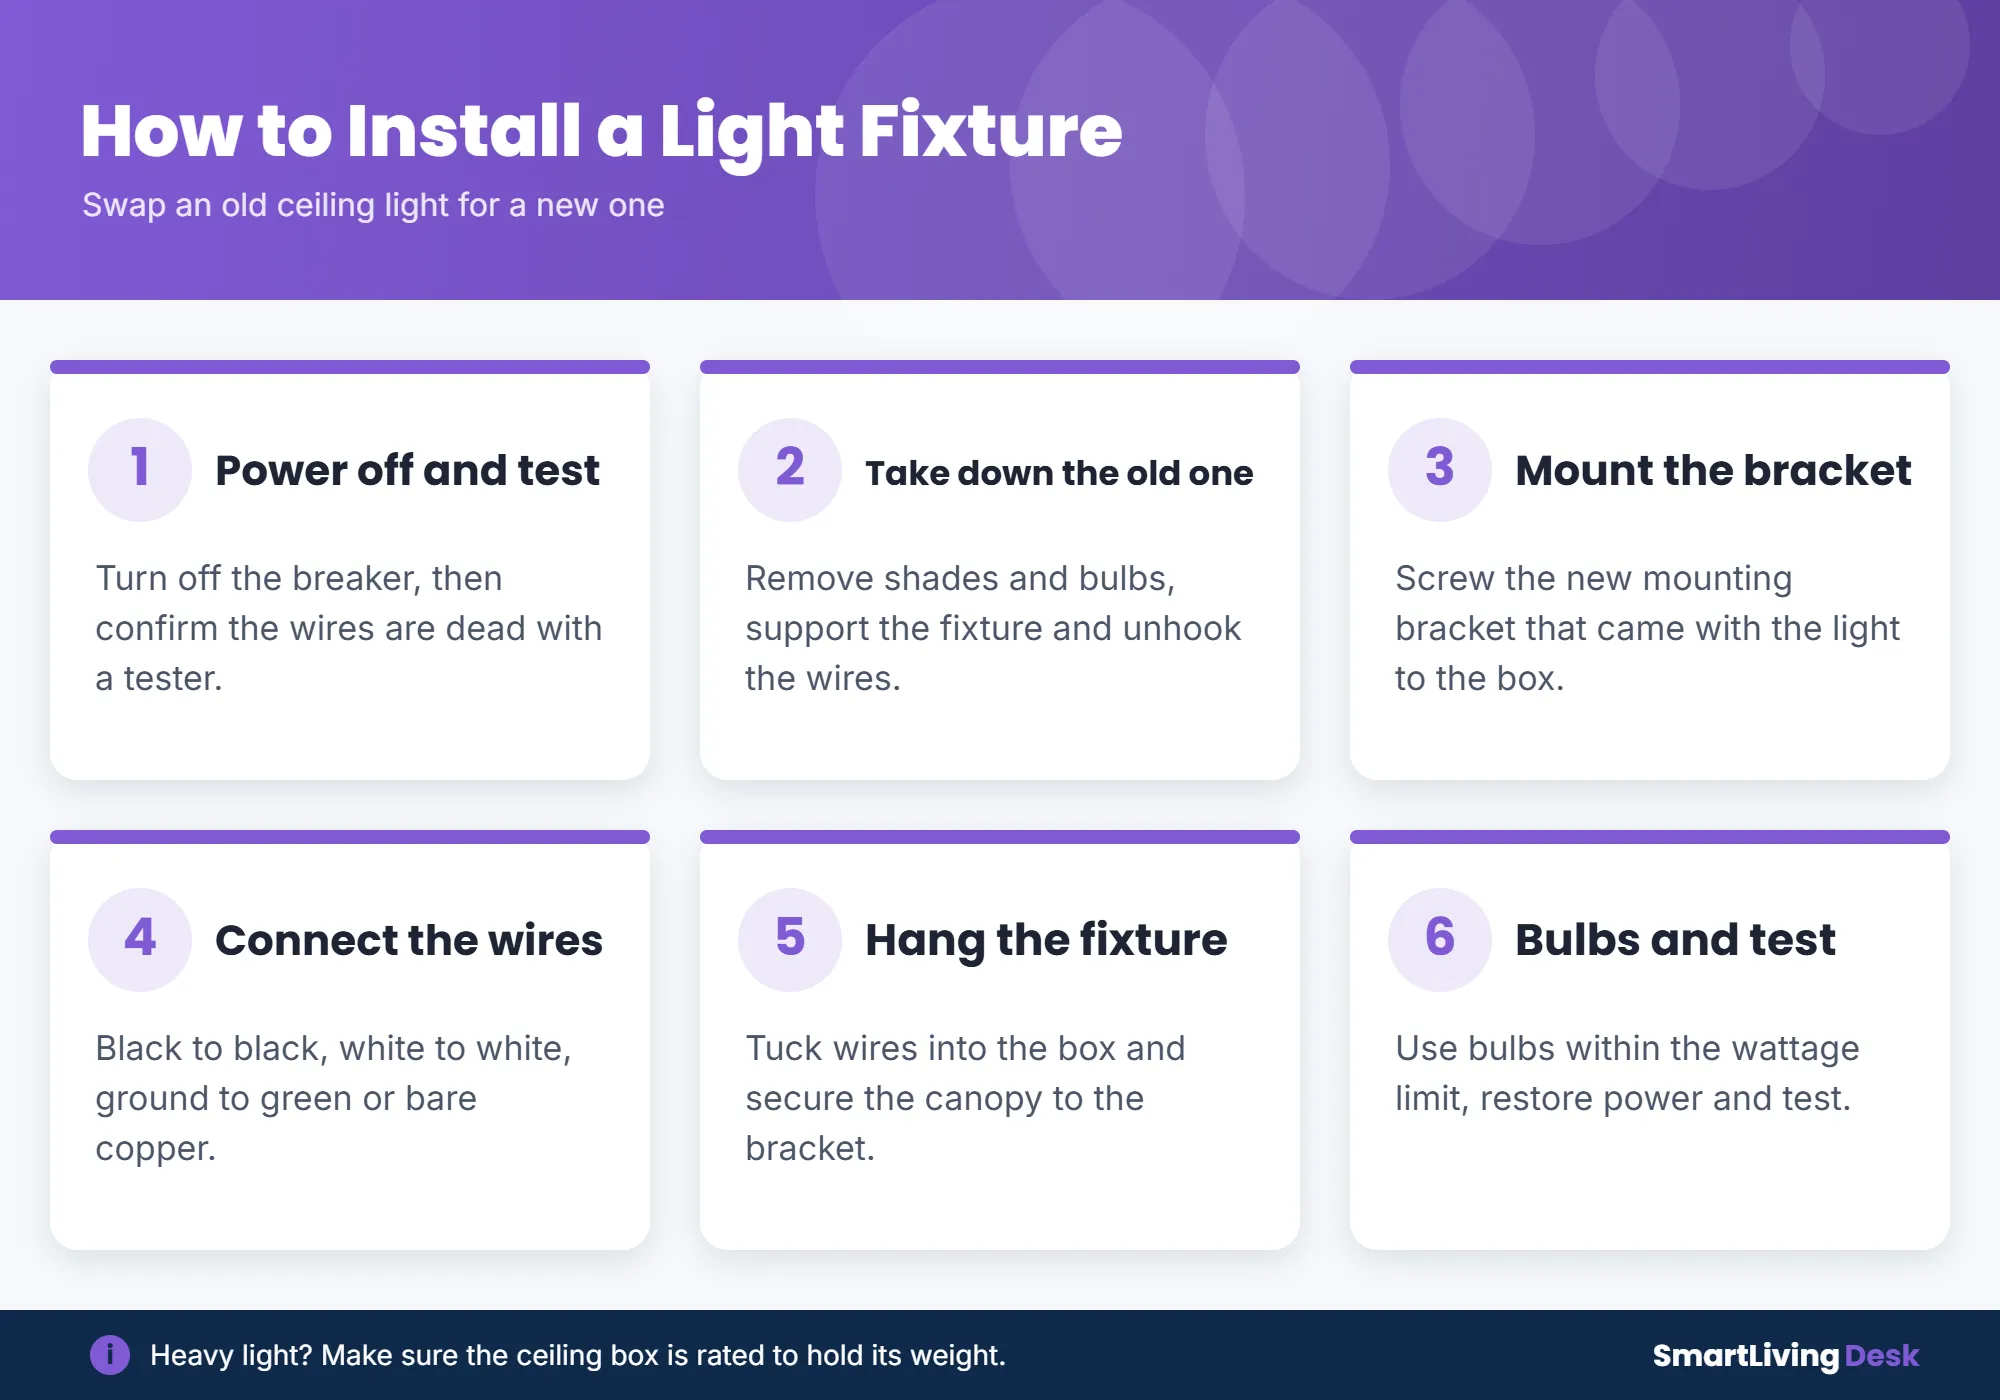
Quick answer: To install a light fixture, turn off the breaker and confirm the power is off with a voltage tester. Remove the old fixture and its bracket, then screw the new mounting bracket to the ceiling box. Connect black to black (hot), white to white (neutral) and the ground wire to the green screw or bare copper wire, using wire nuts. Tuck the wires into the box, attach the fixture, add bulbs within the wattage limit, and turn the power back on.
Before You Start
- This guide covers replacing an existing fixture. Adding a light where there is none means running new wire, which is a job for an electrician.
- Read the instructions that came with your new fixture. Mounting hardware varies.
- Check the weight. Standard ceiling boxes for lights are generally designed for fixtures up to about 50 pounds. A heavier chandelier needs a box and support rated for that weight.
- Ask a helper to hold the fixture while you connect the wires.
Tools and Materials
- New light fixture with its mounting kit
- Non-contact voltage tester
- Screwdrivers
- Wire stripper
- Wire nuts (usually included)
- Electrical tape
- Sturdy step ladder
- Safety glasses
How to Install a Light Fixture Step by Step
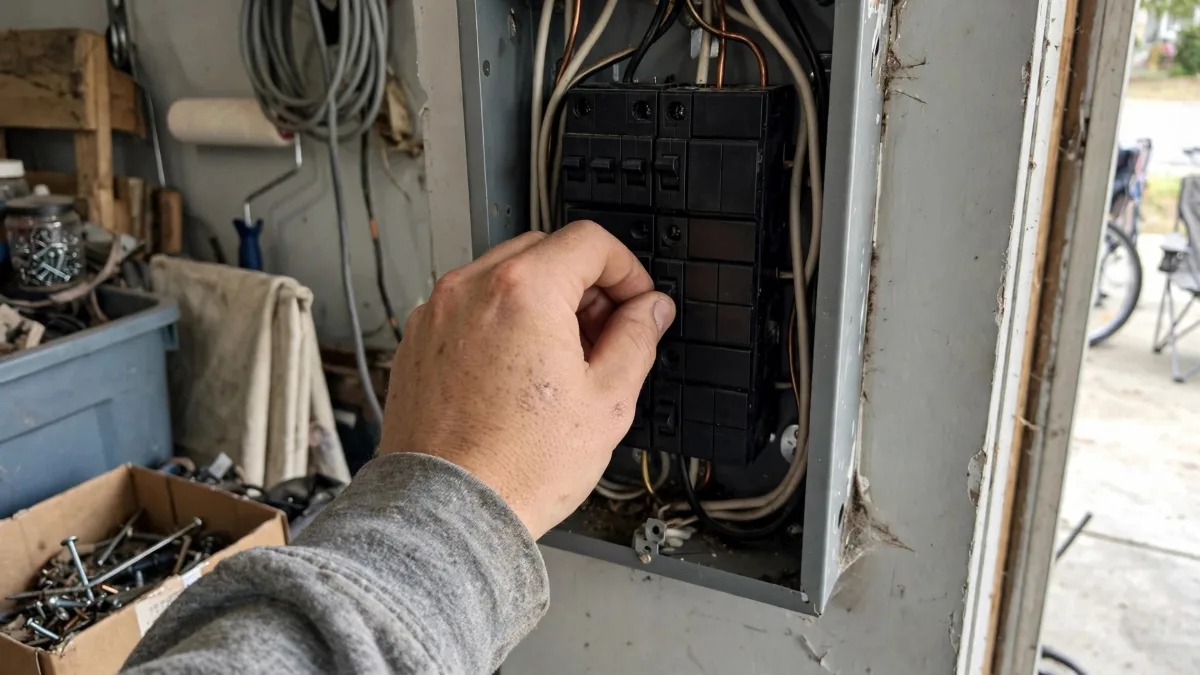
1. Turn off the power and test
Switch off the breaker for that light and flip the wall switch off too. As Wayfair’s installation guide points out, you should confirm the wires are dead with a non-contact voltage tester before touching anything. HomeTips adds that live wires from other circuits can sometimes pass through the same ceiling box, so test every wire.
2. Remove the old fixture
Take off the glass shade and bulbs. Unscrew the canopy (the part that sits against the ceiling) while your helper supports the fixture. Take a photo of the wire connections, then unscrew the wire nuts and separate the wires. Remove the old mounting bracket from the box.
3. Install the new mounting bracket
Screw the bracket that came with your new light to the ceiling box. Most have slotted holes so you can line them up. If the fixture hangs from a center rod, thread the rod into the bracket now.
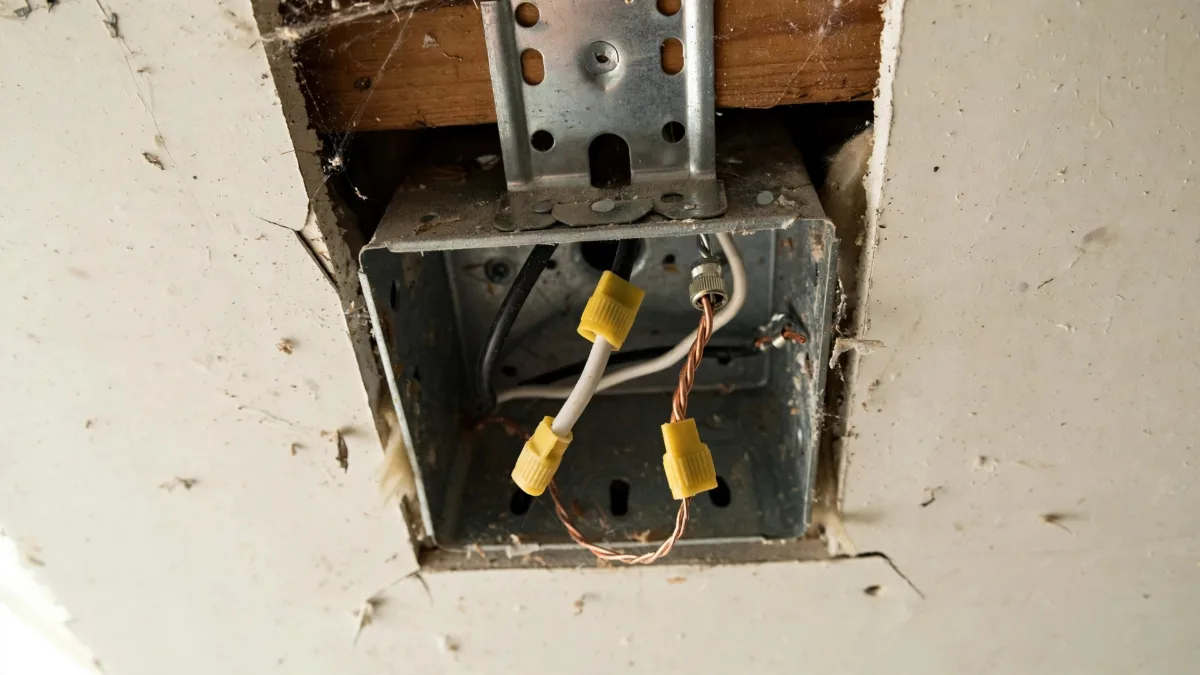
4. Connect the wires
- Strip about 1/2 inch of insulation from any wire ends that are damaged or too short.
- Hold the fixture’s black wire and the ceiling’s black wire (hot) side by side and twist a wire nut over them clockwise until tight.
- Do the same with the white wires (neutral).
- Connect the bare copper or green ground wires to each other and to the green ground screw on the bracket.
- Tug each connection to make sure it is secure, and wrap the wire nuts with electrical tape for extra hold.
If your fixture has two wires that look the same, the one with ribs, lettering or a stripe on the insulation is usually the neutral and goes to white.
5. Mount the fixture
Fold the wires neatly into the box without pinching them. Line up the fixture’s canopy with the bracket screws or center rod and tighten the nuts or screws that hold it. Make sure it sits flush and does not wobble.
6. Add bulbs and test
Install bulbs that do not exceed the maximum wattage printed on the fixture. LED bulbs use far less power and run cooler. Attach the shade, turn the breaker back on, and test the light with the wall switch.
How High Should a Light Fixture Hang?
- Over a dining table or kitchen island, the bottom of the fixture is typically 30 to 36 inches above the surface.
- In hallways and walkways, leave at least 7 feet of clearance from the floor.
- For low ceilings, choose a flush or semi-flush mount.
Troubleshooting
- Light does not turn on: Check the breaker and bulbs, then turn off the power and make sure every wire nut is tight and no copper is showing.
- Breaker trips: A bare wire is probably touching another wire or the metal box. Turn off power and check.
- Flickering: Usually a loose connection or a bulb that is not compatible with a dimmer switch.
- Fixture sags: The box or bracket may not be secure enough. Do not use it until it is properly supported.
When to Call an Electrician
Hire a licensed electrician if there is no electrical box in the ceiling, the wiring is damaged or scorched, your home has aluminum wiring, you need to add a new circuit or switch, or you are hanging a heavy chandelier and are not sure the box can hold it.
Next project? Learn how to replace a light switch or how to install a ceiling fan.
Frequently Asked Questions
Can I install a light fixture myself?
If you are replacing an existing fixture and follow safety steps, most homeowners can. Check local rules, since some areas require permits for electrical work.
How long does it take to install a light fixture?
About 30 minutes to an hour for a simple ceiling light, longer for chandeliers that need assembly.
What if there is no ground wire?
Older homes sometimes lack a ground wire. If the box is metal and grounded, the fixture ground may attach to the box. If you are not sure, have an electrician check it.
Which wire is hot on a light fixture?
In most homes, the black wire is hot, the white wire is neutral and the bare copper or green wire is ground.
Do I need a helper?
It is strongly recommended. Holding a fixture overhead while connecting wires is awkward and unsafe alone.
The Bottom Line
To install a light fixture, turn off and test the power, remove the old light, mount the new bracket, and connect black to black, white to white and ground to ground. Tuck the wires in, attach the fixture, add the right bulbs and test it. If the wiring or box looks questionable, call a licensed electrician.
This article is for general information. Electrical work can be dangerous. Always turn off power, follow your fixture’s instructions and local codes, and hire a licensed electrician if you are unsure.