

How to Screenshot on Mac: Every Shortcut Explained
Whether you want to save a receipt, share an error message with tech support or capture a funny chat, taking a screenshot is one of the most useful things you can do on a computer. Macs have several built-in shortcuts that capture the whole screen, a single window or just a small area, with no extra apps required. Here is exactly how to screenshot on Mac, including MacBook Air and MacBook Pro.
Quick answer: To screenshot on a Mac, press Command + Shift + 3 to capture the entire screen, or Command + Shift + 4 and drag to capture part of the screen. Press Command + Shift + 4 and then the Space bar to capture a single window. Press Command + Shift + 5 to open the screenshot toolbar with more options. Screenshots save to your desktop by default as PNG files.
Mac Screenshot Shortcuts at a Glance
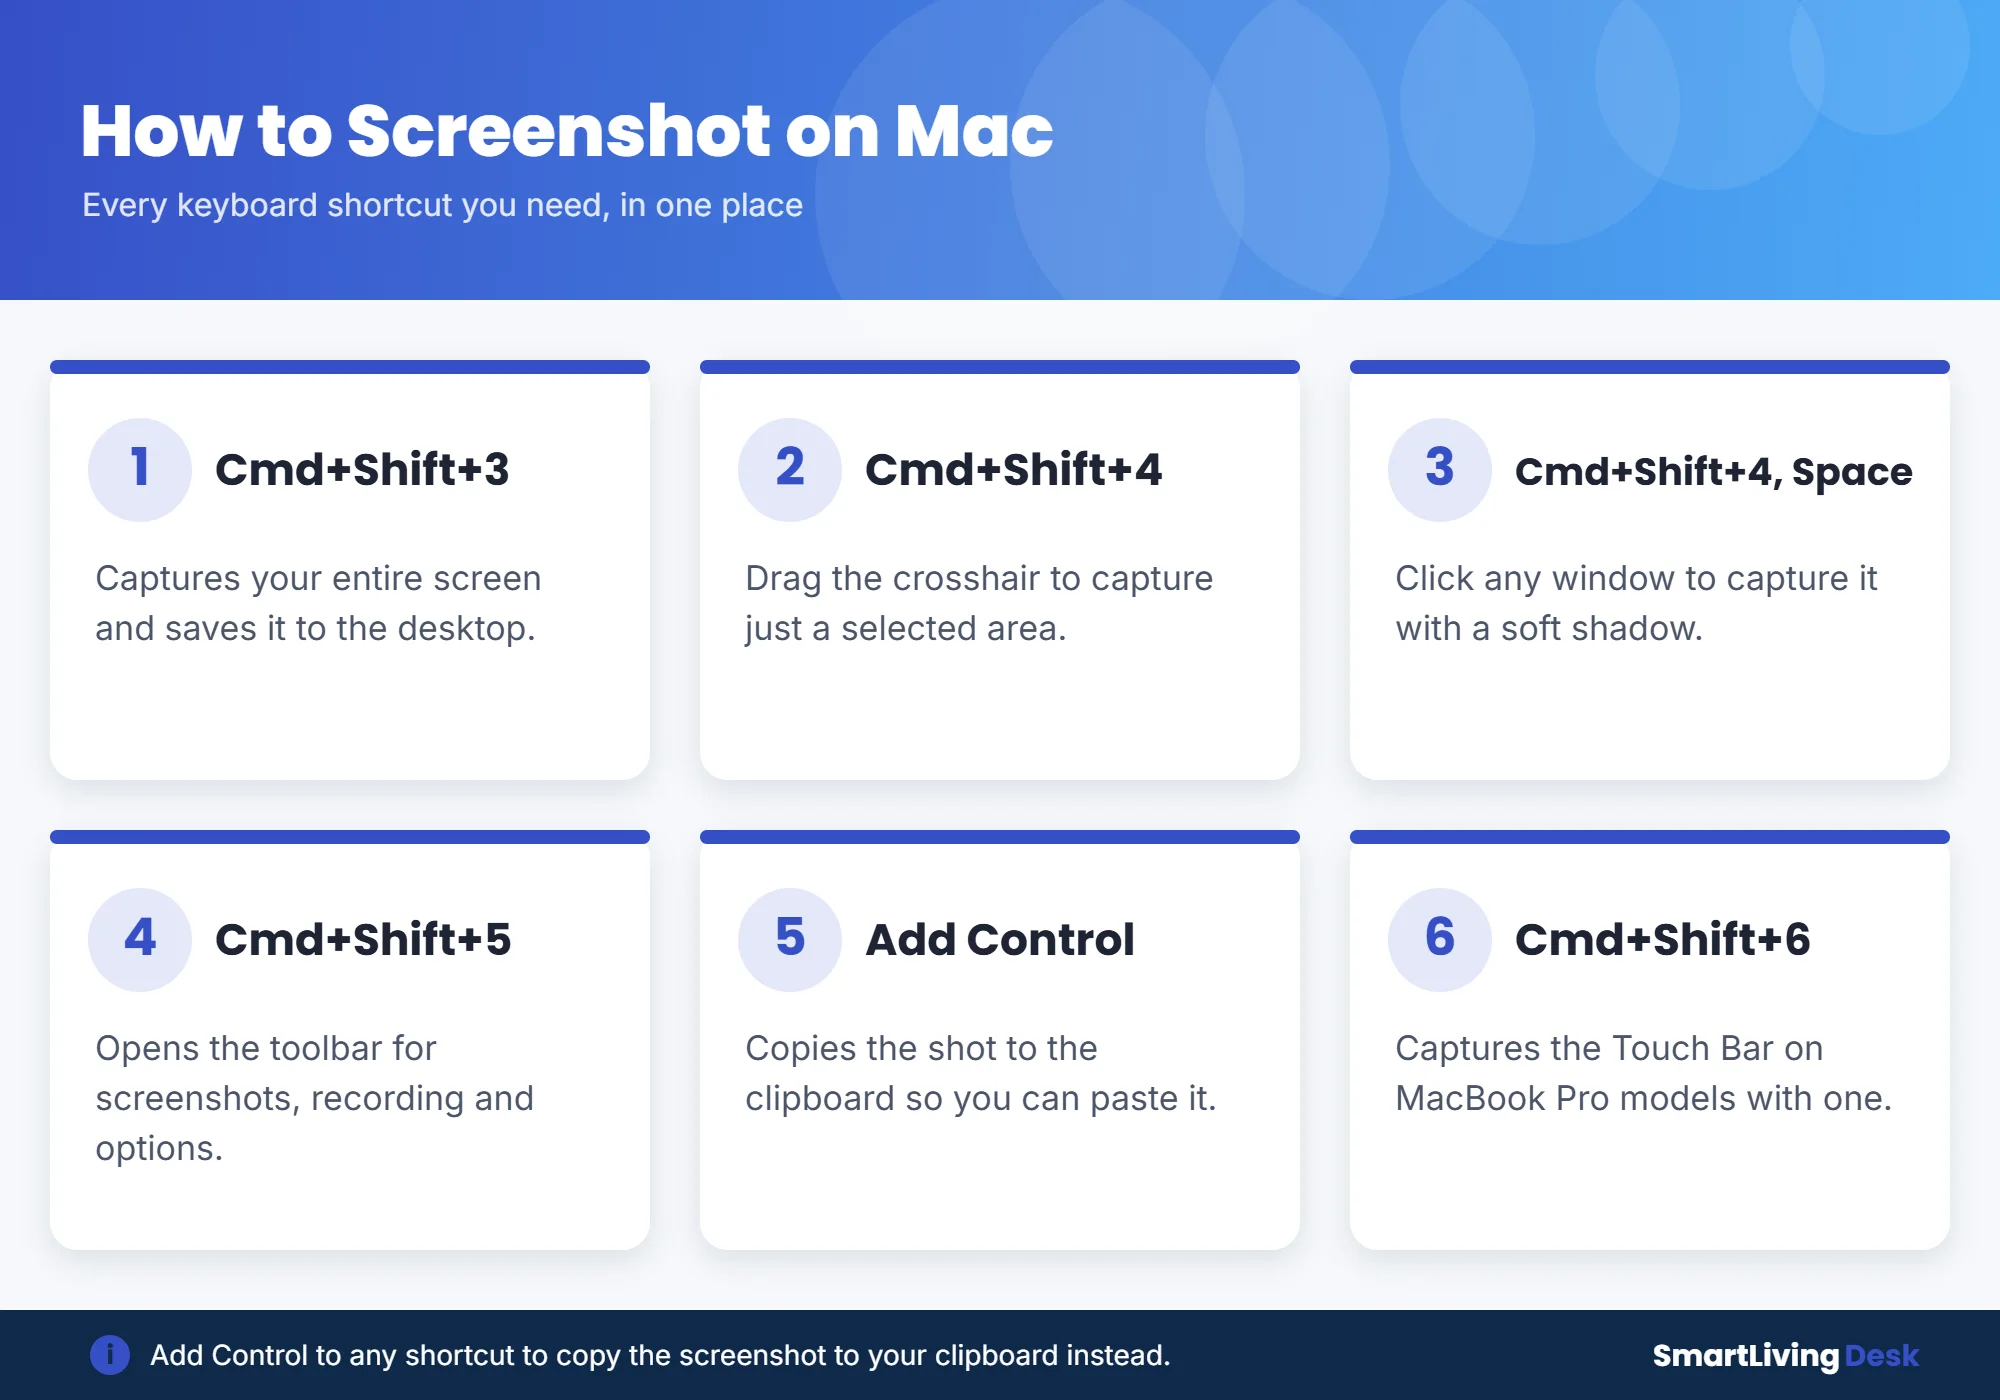
| What you want | Shortcut | Where it goes |
|---|---|---|
| Entire screen | Command + Shift + 3 | Desktop |
| Selected area | Command + Shift + 4, then drag | Desktop |
| One window | Command + Shift + 4, then Space, then click | Desktop |
| Screenshot toolbar and screen recording | Command + Shift + 5 | Desktop (changeable) |
| Copy to clipboard | Add Control to any shortcut | Clipboard |
| Touch Bar | Command + Shift + 6 | Desktop |

How to Screenshot the Entire Screen
Press and hold Command (⌘) + Shift + 3 at the same time. You will hear a camera shutter sound (if your volume is on), and a thumbnail appears briefly in the bottom-right corner. Click the thumbnail to edit it, or wait and it saves automatically to your desktop. If you use more than one display, your Mac takes a separate screenshot of each screen.
How to Screenshot Part of the Screen
- Press Command + Shift + 4. Your pointer turns into a crosshair.
- Click and drag to select the area you want.
- Release the mouse or trackpad button to take the screenshot.
- To cancel, press the Esc key before releasing.
Tip: while dragging, hold Shift to lock the width or height, hold Option to resize from the center, or hold Space to move the whole selection.
How to Screenshot a Specific Window or Menu
Press Command + Shift + 4, then press the Space bar. The pointer turns into a small camera, and the window under it is highlighted. Click the window to capture it. To remove the drop shadow, hold Option while you click. This also works for open menus and the Dock.
How to Use the Screenshot Toolbar (Command + Shift + 5)

On macOS Mojave and later, Command + Shift + 5 opens a toolbar at the bottom of the screen. From there you can:
- Capture the entire screen, a window or a selected portion
- Record your entire screen or a selected portion as a video
- Set a 5- or 10-second timer
- Choose where screenshots are saved, such as Desktop, Documents, Clipboard, Mail or Messages
- Show or hide the mouse pointer and the floating thumbnail
Need to turn a screen recording into a short animation? Here is how to make a GIF from a video.
Where Do Screenshots Go on a Mac?
By default, screenshots are saved to your desktop with a name like “Screenshot 2026-11-10 at 9.41.15 AM.png”. To change the location, press Command + Shift + 5, click Options and pick a new folder under “Save to”. Your choice stays until you change it again.
How to Copy a Screenshot to the Clipboard
Add the Control key to any shortcut, for example Command + Control + Shift + 4. The screenshot is copied instead of saved, so you can paste it straight into an email, document or chat with Command + V.
How to Edit or Mark Up a Screenshot
Click the floating thumbnail right after taking a screenshot to open Markup. You can crop, draw, add text, highlight, add shapes or sign, then click Done to save or use the share button to send it.
Mac Screenshot Not Working? Try This
- Check the shortcuts are on: go to System Settings, then Keyboard, then Keyboard Shortcuts, then Screenshots.
- Make sure you press all keys at the same time.
- Restart your Mac if the shortcuts stop responding.
- Check your save location in Command + Shift + 5, then Options.
- Some apps, like streaming video apps, block screenshots for copyright reasons.
Frequently Asked Questions
How do I take a screenshot on a MacBook Air or MacBook Pro?
The shortcuts are the same on every Mac: Command + Shift + 3 for the full screen, Command + Shift + 4 for part of the screen and Command + Shift + 5 for the toolbar.
Is there a Print Screen button on a Mac?
No. Macs use keyboard shortcuts instead. If you use a Windows keyboard with a Mac, the Windows key usually works as Command.
How do I change the screenshot file format?
Screenshots are saved as PNG files by default. You can open a screenshot in Preview and use File, then Export, to save it as JPEG, HEIC or PDF.
The Bottom Line
Knowing how to screenshot on Mac saves time every day. Remember three shortcuts: Command + Shift + 3 for the whole screen, Command + Shift + 4 for a selected area and Command + Shift + 5 for the full toolbar. Add Control to copy instead of save. Want to show your screen on a TV instead? Read our guide to screen mirroring.